

-
Welcome to Tundras.com!
You are currently viewing as a guest! To get full-access, you need to register for a FREE account.
As a registered member, you’ll be able to:- Participate in all Tundra discussion topics
- Transfer over your build thread from a different forum to this one
- Communicate privately with other Tundra owners from around the world
- Post your own photos in our Members Gallery
- Access all special features of the site
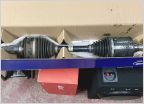 Is it worth it to have CV axle rebuilt/rebooted?
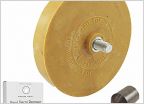 TRD Decals be gone! The easy way
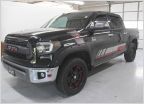 Replace Badging/Stickers?
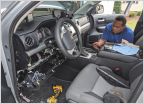 Remote Start & Bulge LED
 Dash Camera suggestions
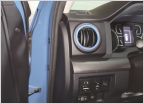 Trying to remove the chrome lining on air vents
What have you done to your 2.5 gen Tundra today?
Discussion in '2.5 Gen Tundras (2014-2021)' started by T-Rex266, Aug 10, 2014.
Page 3441 of 3519
Page 3441 of 3519
Products Discussed in


