

-
Welcome to Tundras.com!
You are currently viewing as a guest! To get full-access, you need to register for a FREE account.
As a registered member, you’ll be able to:- Participate in all Tundra discussion topics
- Transfer over your build thread from a different forum to this one
- Communicate privately with other Tundra owners from around the world
- Post your own photos in our Members Gallery
- Access all special features of the site
Quick Links: A few questions a few probably stupid! Lol
 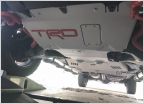 NEED HELP with TRD Skid Plate Upgrade with ReadyLift TRD pro plus-2 skid plate adaptor kit #67-5443
 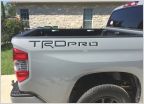 HELP! Hood and Bed decals for TRD PRO
 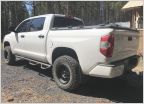 Me and MY 2020 Tundra are new here! Hello Everyone!
 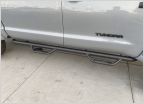 What kind of running boards are these?
 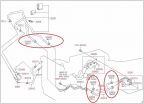 Transmission Cooler Line Spring Clamps
Diode Dynamics Stealth LED Light Bar
Discussion in '2.5 Gen TRD Pro (2014-2021)' started by GREENwithENVY, Aug 9, 2020.
Page 2 of 3
Page 2 of 3

