-
Welcome to Tundras.com!
You are currently viewing as a guest! To get full-access, you need to register for a FREE account.
As a registered member, you’ll be able to:- Participate in all Tundra discussion topics
- Transfer over your build thread from a different forum to this one
- Communicate privately with other Tundra owners from around the world
- Post your own photos in our Members Gallery
- Access all special features of the site
 Musty smell from A/C
 Anyone have suggestions for silver delete around head unit?
 Armrest compartment
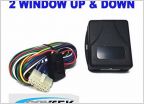 Auto up all windows
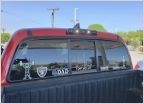 Key Fob Sensor in Truck Acting Up...thoughts?
 Stronger bed rail drop plates?
ARB Twin Compressor Install WITH Switch Pro SP9100
Discussion in '2.5 Gen Tundras (2014-2021)' started by CDC4U3TRD, Jan 8, 2021.