

-
Welcome to Tundras.com!
You are currently viewing as a guest! To get full-access, you need to register for a FREE account.
As a registered member, you’ll be able to:- Participate in all Tundra discussion topics
- Transfer over your build thread from a different forum to this one
- Communicate privately with other Tundra owners from around the world
- Post your own photos in our Members Gallery
- Access all special features of the site
 2021 JBL Plug N Play replacement options...
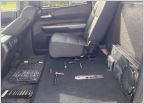
 Powered Sub Recommendations
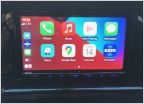 Apple Car Play
 Is Boss BE10ACP worth it?
 2024 Tundra Non-JBL - How many channels?
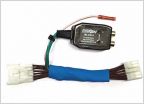 Installing sub to non jbl system
Using an Oscilloscope to Set Your Gains for Around $50
Discussion in 'Audio & Video' started by Danimal86, Oct 14, 2021.
Page 1 of 2
Page 1 of 2


