

-
Welcome to Tundras.com!
You are currently viewing as a guest! To get full-access, you need to register for a FREE account.
As a registered member, you’ll be able to:- Participate in all Tundra discussion topics
- Transfer over your build thread from a different forum to this one
- Communicate privately with other Tundra owners from around the world
- Post your own photos in our Members Gallery
- Access all special features of the site
 ICS FAB 2014+ Dash Mount- ram mount compatible
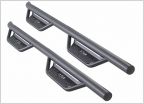 Help with Nerf Bars on newly lifted Tundra
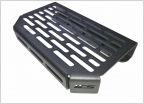
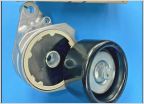 Tensioner Pulley Replacement
 21 OEM Bedlights & Tailgate Power Lock
 Mirror - Dash Cam Power Connector / Spliter / Adapter
 Transfer Case oil
Trying to remove the chrome lining on air vents
Discussion in '2.5 Gen Tundras (2014-2021)' started by Joe C, Oct 14, 2016.
Page 1 of 2
Page 1 of 2

