

-
Welcome to Tundras.com!
You are currently viewing as a guest! To get full-access, you need to register for a FREE account.
As a registered member, you’ll be able to:- Participate in all Tundra discussion topics
- Transfer over your build thread from a different forum to this one
- Communicate privately with other Tundra owners from around the world
- Post your own photos in our Members Gallery
- Access all special features of the site
 04 2WD slip yoke question
 Rear diff
 Need Help! -ABS Fuse
 TPMS Sensors
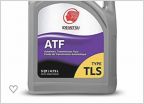 Transmission fluid
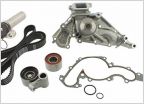 Timing belt cost to install?
What have you done to your 1st gen Tundra today?
Discussion in '1st Gen Tundras (2000-2006)' started by T-Rex266, Sep 7, 2015.
Page 124 of 2445
Page 124 of 2445
Products Discussed in


