

-
Welcome to Tundras.com!
You are currently viewing as a guest! To get full-access, you need to register for a FREE account.
As a registered member, you’ll be able to:- Participate in all Tundra discussion topics
- Transfer over your build thread from a different forum to this one
- Communicate privately with other Tundra owners from around the world
- Post your own photos in our Members Gallery
- Access all special features of the site
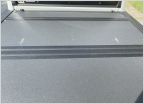 Tri-Fold Tonneau Pad Ideas
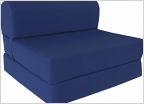 Anyone have Camping setups with DECKED...Let's see em...
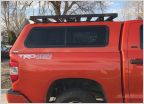 Roof racks
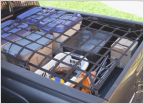 Looking for a short bed net
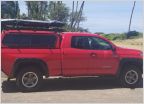 Beef up rear suspension for full-time topper?
 In the Market for a Tonneau Cover
Repairing non-structural crack in Leer cap
Discussion in 'Tonneau Covers, Caps and Shells' started by shifty`, Nov 13, 2023.

