

-
Welcome to Tundras.com!
You are currently viewing as a guest! To get full-access, you need to register for a FREE account.
As a registered member, you’ll be able to:- Participate in all Tundra discussion topics
- Transfer over your build thread from a different forum to this one
- Communicate privately with other Tundra owners from around the world
- Post your own photos in our Members Gallery
- Access all special features of the site
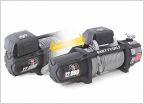 Warn vs Smittybuilt 12K synthetic
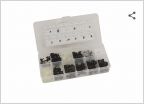 Darned plastic rivets
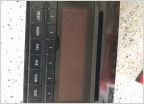 Wiring/Pin diagram 2010 Tundra Stereo
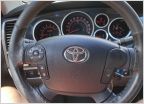 Steering wheel rehab
 2007 tailgate assist
 Best Sun Shield Option
OMG! I Installed the Hewitt Technologies Gen-II Bypass
Discussion in '2nd Gen Tundras (2007-2013)' started by myt1, Nov 8, 2020.

