

-
Welcome to Tundras.com!
You are currently viewing as a guest! To get full-access, you need to register for a FREE account.
As a registered member, you’ll be able to:- Participate in all Tundra discussion topics
- Transfer over your build thread from a different forum to this one
- Communicate privately with other Tundra owners from around the world
- Post your own photos in our Members Gallery
- Access all special features of the site
Quick Links: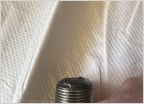 Differential Oil Change, Metal on Plug(s). How Concerning?
  Bizarre Front End Engine Sound - Squirrelly Serpentine Belt, Harmonic balancer wobble
 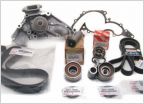 What is the best place to buy a timing belt/water pump kit that contains OEM Toyota parts
  Are rear spring bumpers interchangeable?
 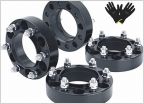 Tacoma wheels fit?
 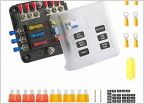 Access points from outside the cab to the inside
Some not great, but kinda decent body rust repairs, and related PSA's
Discussion in '1st Gen Tundras (2000-2006)' started by Green00SR5, Aug 30, 2024.


