

-
Welcome to Tundras.com!
You are currently viewing as a guest! To get full-access, you need to register for a FREE account.
As a registered member, you’ll be able to:- Participate in all Tundra discussion topics
- Transfer over your build thread from a different forum to this one
- Communicate privately with other Tundra owners from around the world
- Post your own photos in our Members Gallery
- Access all special features of the site
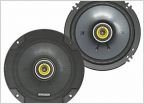 Front Speaker information re 2006 DC Non-JBA
 2006 Access Cab Stereo, Speakers, Backup Cam, Info
 Corner Turn Signal Condensation
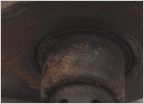 P0136
P0136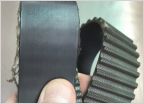 What a stock 17 year old 175K timing belt looks like
 Why can't I find a replacement air intake hose for my 2000 sr5 v6 tundra?
What have you done to your 1st gen Tundra today?
Discussion in '1st Gen Tundras (2000-2006)' started by T-Rex266, Sep 7, 2015.
Page 2002 of 2444
Page 2002 of 2444
Products Discussed in


