

-
Welcome to Tundras.com!
You are currently viewing as a guest! To get full-access, you need to register for a FREE account.
As a registered member, you’ll be able to:- Participate in all Tundra discussion topics
- Transfer over your build thread from a different forum to this one
- Communicate privately with other Tundra owners from around the world
- Post your own photos in our Members Gallery
- Access all special features of the site
 Retrax Pro XR
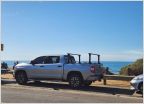 Whooo, bed is almost dialed! Bedrug... Check!
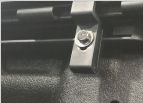 Review - CCR Sport Deck Rail Tie Down Hook for Tundra with a cover and rail system
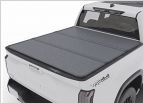 Toptiny Tonneau Bed Cover
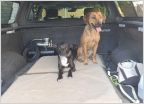 Dogs riding in camper shell
 Amazon tonneau cover
BAKFlip MX4 side seal replacement and upgrade kit install
Discussion in 'Tonneau Covers, Caps and Shells' started by Selcouth, Dec 30, 2023.


