-
Welcome to Tundras.com!
You are currently viewing as a guest! To get full-access, you need to register for a FREE account.
As a registered member, you’ll be able to:- Participate in all Tundra discussion topics
- Transfer over your build thread from a different forum to this one
- Communicate privately with other Tundra owners from around the world
- Post your own photos in our Members Gallery
- Access all special features of the site
 500w power inverter in center console
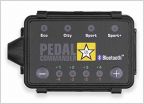 What's your opinion on throttle response controller for Toyota?
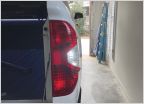 2020 Tundra reverse lights
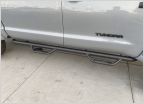 What kind of running boards are these?
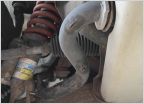 Have y’all replaced factory coilovers yet?
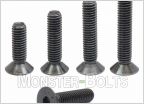 Oil filter trap door bolts
Installing Warn VR EVO-12S on ARB Summit bumper
Discussion in '2.5 Gen TRD Pro (2014-2021)' started by SOCL, Oct 29, 2023.