

-
Welcome to Tundras.com!
You are currently viewing as a guest! To get full-access, you need to register for a FREE account.
As a registered member, you’ll be able to:- Participate in all Tundra discussion topics
- Transfer over your build thread from a different forum to this one
- Communicate privately with other Tundra owners from around the world
- Post your own photos in our Members Gallery
- Access all special features of the site
Quick Links: Drove home with a 2020 Tundra Platinum 4X4 yesterday.
 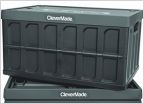 In-bed storage for temporary items. Groceries, etc..
  Bugs in bedded in my radiator, what to do
 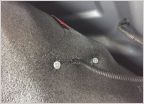 Bedrug - buy online or through a “local” dealer?
  I have a amp draw question...and the "short" jumper in the fuse box - SOLVED!
 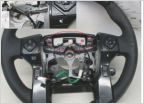 Tacoma steering wheel in Tundra?
How to remove front bumper extensions - Without removing the bumper
Discussion in '2.5 Gen Tundras (2014-2021)' started by bradleykd, Nov 4, 2019.


