

-
Welcome to Tundras.com!
You are currently viewing as a guest! To get full-access, you need to register for a FREE account.
As a registered member, you’ll be able to:- Participate in all Tundra discussion topics
- Transfer over your build thread from a different forum to this one
- Communicate privately with other Tundra owners from around the world
- Post your own photos in our Members Gallery
- Access all special features of the site
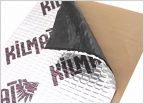 Installing Noico and Killmat in my doors of crew. Need advice.
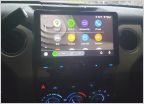 JL 10-TW3, Audiofrog,Kenwood DMX1037s Build
 CarPlay Issues
 Android auto adapter
 How to add a new Amp to your 3rd Gen Tundra JBL Entune system
'18 Crewmas sr5 stereo overhaul
Discussion in 'Audio & Video' started by raberd14, Apr 23, 2019.


