

-
Welcome to Tundras.com!
You are currently viewing as a guest! To get full-access, you need to register for a FREE account.
As a registered member, you’ll be able to:- Participate in all Tundra discussion topics
- Transfer over your build thread from a different forum to this one
- Communicate privately with other Tundra owners from around the world
- Post your own photos in our Members Gallery
- Access all special features of the site
 Aftermarket HU + FRAC Harness + Blindspot Cameras!
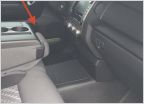 40/20/40 Bench Seat extra storage/tray/cup/phone holder
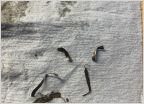 Rear Diff maintenance?
 Any issues using the cigarette lighter as a power source?
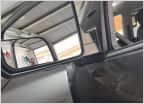
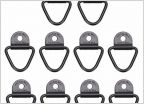 Tie downs in rear seat of truck
 PIAA horns on MY16 Tundra
Power Distribution, Firewall Pass throughs and no torn boots!
Discussion in '2.5 Gen Tundras (2014-2021)' started by Overland_Mike, Jan 13, 2018.
Products Discussed in


