

-
Welcome to Tundras.com!
You are currently viewing as a guest! To get full-access, you need to register for a FREE account.
As a registered member, you’ll be able to:- Participate in all Tundra discussion topics
- Transfer over your build thread from a different forum to this one
- Communicate privately with other Tundra owners from around the world
- Post your own photos in our Members Gallery
- Access all special features of the site
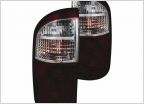 Led bulb conversion
 Help for lift kit
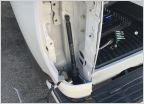 Tailgate hinge bushing
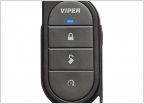 Remote start on first gen?
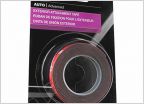 What's a good adhesive or glue to stick the rubber strips to fender flares and bumper ends?
 06 DC JBL front speakers
Sway Bar Link Fiasco
Discussion in '1st Gen Tundras (2000-2006)' started by DarkMint, Aug 14, 2021.


