

-
Welcome to Tundras.com!
You are currently viewing as a guest! To get full-access, you need to register for a FREE account.
As a registered member, you’ll be able to:- Participate in all Tundra discussion topics
- Transfer over your build thread from a different forum to this one
- Communicate privately with other Tundra owners from around the world
- Post your own photos in our Members Gallery
- Access all special features of the site
 Best Mods for 2010 Double Cab?
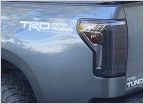 Claw Taillights
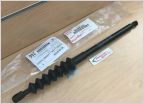 Tailgate support cylinder/drop support Part 66140-0C030 Alternative?
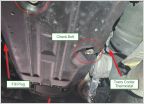 2nd Gen Transmission Drain and Fill DIY How-To
 OEM power tailgate lock kit
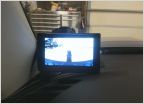
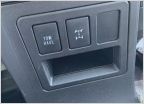 Anyone find a phone mount that uses this space?
The ALMOST Free AutoHeadlight Upgrade Thread
Discussion in '2nd Gen Tundras (2007-2013)' started by mudrunner88, Jan 17, 2021.

