

-
Welcome to Tundras.com!
You are currently viewing as a guest! To get full-access, you need to register for a FREE account.
As a registered member, you’ll be able to:- Participate in all Tundra discussion topics
- Transfer over your build thread from a different forum to this one
- Communicate privately with other Tundra owners from around the world
- Post your own photos in our Members Gallery
- Access all special features of the site
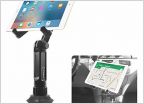 IPad/Tablet Mounting Location?
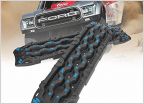 Anyone have experience with these traction boards?
 Car dash mount for phone
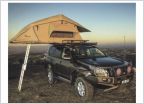 Low Profile Bed Rack options for RTT
 Stubby Antenna
 Torque wrench preferences?
Bestop Powerboard (electric steps) anyone?
Discussion in 'General Tundra Discussion' started by vegas4x4, Nov 18, 2020.
Page 3 of 3
Page 3 of 3


