

-
Welcome to Tundras.com!
You are currently viewing as a guest! To get full-access, you need to register for a FREE account.
As a registered member, you’ll be able to:- Participate in all Tundra discussion topics
- Transfer over your build thread from a different forum to this one
- Communicate privately with other Tundra owners from around the world
- Post your own photos in our Members Gallery
- Access all special features of the site
 Help with keyless entry upgrade
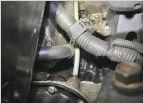 Cam seal leak? Or something else?
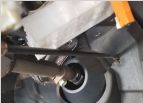
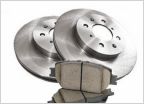 Vibration under braking
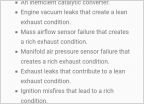 P0138 Oxygen Sensor High Voltage requires ECM replacement?
 1st gen difference between cab types??
 Amazon Aftermarket Camber Bolts
DIY: Steering Shaft Seal
Discussion in '1st Gen Tundras (2000-2006)' started by bajaphile, Jun 29, 2019.
Page 2 of 4
Page 2 of 4

