

-
Welcome to Tundras.com!
You are currently viewing as a guest! To get full-access, you need to register for a FREE account.
As a registered member, you’ll be able to:- Participate in all Tundra discussion topics
- Transfer over your build thread from a different forum to this one
- Communicate privately with other Tundra owners from around the world
- Post your own photos in our Members Gallery
- Access all special features of the site
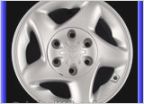 Black center caps on 1st gen silver alloys
 Camper Shell / Tailgate Weatherproofing
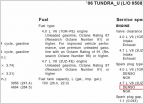 Miles on spark plugs
 Amp upgrade questions
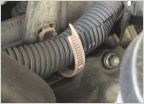 Need Part Numbers for Two Wire Bundle Clips
My 2001 TRD Access Cab Repair/Modify Thread
Discussion in '1st Gen Tundras (2000-2006)' started by N84434, Jul 27, 2020.
Page 1 of 10
Page 1 of 10

