

-
Welcome to Tundras.com!
You are currently viewing as a guest! To get full-access, you need to register for a FREE account.
As a registered member, you’ll be able to:- Participate in all Tundra discussion topics
- Transfer over your build thread from a different forum to this one
- Communicate privately with other Tundra owners from around the world
- Post your own photos in our Members Gallery
- Access all special features of the site
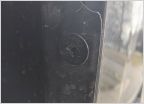 Question on wheel well push pins
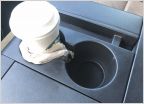 First World Problems: Cup Holders
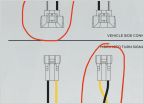 Morimoto XB Headlight Turn Signal Harness
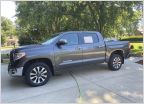 Side step question...
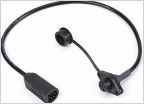 Input from owners with C4 Fab Front Bumper and winch installed
DIY Steering Wheel Wrap (3rd Gen)
Discussion in '2.5 Gen Tundras (2014-2021)' started by GAknight, Aug 9, 2018.
Page 1 of 3
Page 1 of 3

