

-
Welcome to Tundras.com!
You are currently viewing as a guest! To get full-access, you need to register for a FREE account.
As a registered member, you’ll be able to:- Participate in all Tundra discussion topics
- Transfer over your build thread from a different forum to this one
- Communicate privately with other Tundra owners from around the world
- Post your own photos in our Members Gallery
- Access all special features of the site
 Bak Flip g2 restoration
 What bed cleats / tie down mounts work with bedcap? Show your setup!
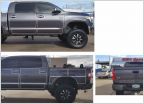 My custom magnetic brush protection
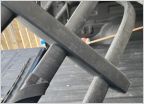 2023 Tundra with DiamondBack HD and Bed Extender
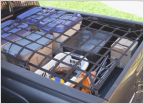 Looking for a short bed net
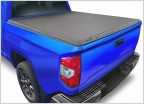 Trifold Vs Rollup
Undercover rivets popped....anyone fixed?
Discussion in 'Tonneau Covers, Caps and Shells' started by Tundra234, May 6, 2020.

