

-
Welcome to Tundras.com!
You are currently viewing as a guest! To get full-access, you need to register for a FREE account.
As a registered member, you’ll be able to:- Participate in all Tundra discussion topics
- Transfer over your build thread from a different forum to this one
- Communicate privately with other Tundra owners from around the world
- Post your own photos in our Members Gallery
- Access all special features of the site
 Anyone have a Nest or other smart thermostat?
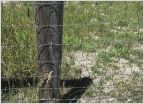 Field fencing
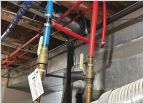 Water Heater Recirculating Pump install.
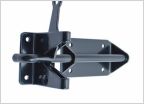 How to correct this bolt in a wooden fence
 Security cameras
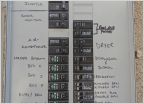 Adding some electrical to the garage for metal work
Advice on redoing walls in kitchen
Discussion in 'Home Improvement' started by Kung, Apr 2, 2021.
Page 1 of 2
Page 1 of 2


