-
Welcome to Tundras.com!
You are currently viewing as a guest! To get full-access, you need to register for a FREE account.
As a registered member, you’ll be able to:- Participate in all Tundra discussion topics
- Transfer over your build thread from a different forum to this one
- Communicate privately with other Tundra owners from around the world
- Post your own photos in our Members Gallery
- Access all special features of the site
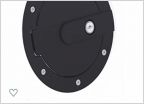 Locking gas cap frozen
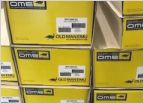 OME BP-51 Suspension systems IN STOCK
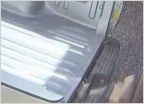 Interchangeable tailgates?
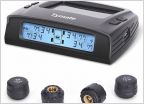 TPMS Reset Question
 Dome Light Won't Come with the Doors
 Replace Badging/Stickers?
Removing front "spat" (mud flaps)?
Discussion in '2.5 Gen Tundras (2014-2021)' started by 39 Chev, Jan 11, 2019.