

-
Welcome to Tundras.com!
You are currently viewing as a guest! To get full-access, you need to register for a FREE account.
As a registered member, you’ll be able to:- Participate in all Tundra discussion topics
- Transfer over your build thread from a different forum to this one
- Communicate privately with other Tundra owners from around the world
- Post your own photos in our Members Gallery
- Access all special features of the site
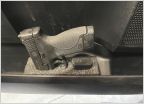 Truck holsters
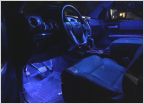 I got the blues tonight
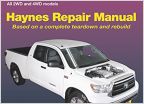 Workshop manual I guess no such thing as paper back anymore?
 Upgraded interior lights to LED
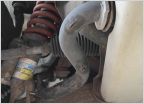 Have y’all replaced factory coilovers yet?
 What's your opinion on throttle response controller for Toyota?
Silver Taming
Discussion in '2.5 Gen TRD Pro (2014-2021)' started by Rtrott01, Oct 11, 2018.
Page 3 of 4
Page 3 of 4

