

-
Welcome to Tundras.com!
You are currently viewing as a guest! To get full-access, you need to register for a FREE account.
As a registered member, you’ll be able to:- Participate in all Tundra discussion topics
- Transfer over your build thread from a different forum to this one
- Communicate privately with other Tundra owners from around the world
- Post your own photos in our Members Gallery
- Access all special features of the site
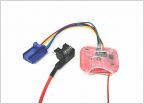 Auto stop/start disable
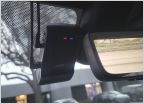 Dashcam Install
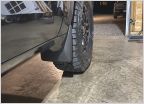 Do 3rd gen Limiteds have mud flaps?
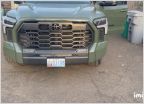 Front LED turn signal upgrade for '22s
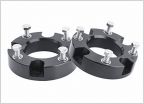 Change in quality of ride of 1.75" front leveling kit vs rear+front (2"/3")
 Front Tie Down Ideas for Canoe
HOW TO: 2022+ Tundra mirror LED courtesy puddle light installation and wiring.
Discussion in '3rd Gen Tundras (2022+)' started by 99ways2die, Apr 3, 2023.

