

-
Welcome to Tundras.com!
You are currently viewing as a guest! To get full-access, you need to register for a FREE account.
As a registered member, you’ll be able to:- Participate in all Tundra discussion topics
- Transfer over your build thread from a different forum to this one
- Communicate privately with other Tundra owners from around the world
- Post your own photos in our Members Gallery
- Access all special features of the site
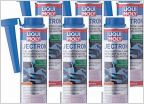 Techron, Seafoam or...
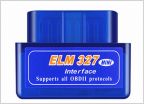 Need an OBD2 reader
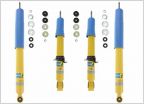 Counterfeit Bilsteins?
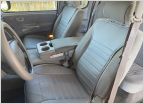 Seat Covers
 Fuel pump access cover for truck bed.
 Front end parts help
Timing belt master thread/sticky?
Discussion in '1st Gen Tundras (2000-2006)' started by Baller, May 12, 2022.
Products Discussed in


