-
Welcome to Tundras.com!
You are currently viewing as a guest! To get full-access, you need to register for a FREE account.
As a registered member, you’ll be able to:- Participate in all Tundra discussion topics
- Transfer over your build thread from a different forum to this one
- Communicate privately with other Tundra owners from around the world
- Post your own photos in our Members Gallery
- Access all special features of the site
 DIY Spring Compressor
 Now What?
 Where can I find a drivers side grab handle in stock?
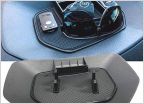 Dash Center Console Table Storage
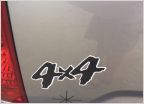 Remove decal applied by previous owner
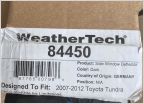 2017 Tundra Crewmax side window Deflectors
Show Me Your Ditch Light Wiring
Discussion in '2.5 Gen Tundras (2014-2021)' started by Dsptundra, Jan 15, 2022.