

-
Welcome to Tundras.com!
You are currently viewing as a guest! To get full-access, you need to register for a FREE account.
As a registered member, you’ll be able to:- Participate in all Tundra discussion topics
- Transfer over your build thread from a different forum to this one
- Communicate privately with other Tundra owners from around the world
- Post your own photos in our Members Gallery
- Access all special features of the site
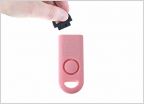 19 yo daughter, going camping without me for first time
 Anyone need a hammock? Deal ends in 3hrs
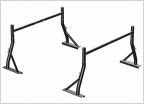 Carrying a Canoe
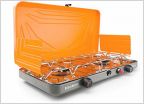 Camp Stove . . .
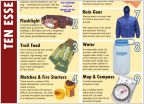 Ultimate Camping Checklist
 Privacy Tents for parents...
12v jerry can faucet
Discussion in 'Outdoors' started by smslavin, Sep 6, 2020.


