-
Welcome to Tundras.com!
You are currently viewing as a guest! To get full-access, you need to register for a FREE account.
As a registered member, you’ll be able to:- Participate in all Tundra discussion topics
- Transfer over your build thread from a different forum to this one
- Communicate privately with other Tundra owners from around the world
- Post your own photos in our Members Gallery
- Access all special features of the site
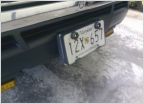 Front License Plate Mounting?
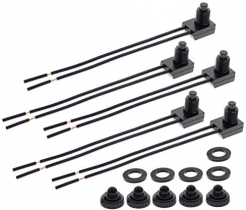
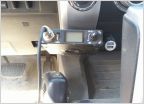 CB Radios
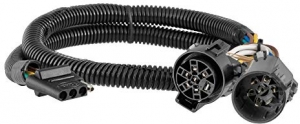
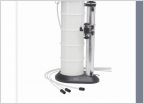 Anyone change oil with this?
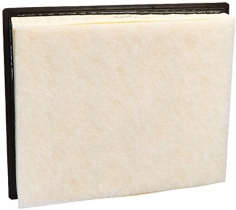
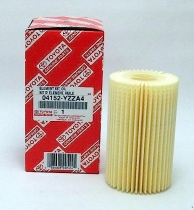
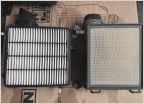 OEM Air filter part #
 How to Protect Warranty if Changing your Own Oil?
 Rear seat cover for pets?
3rd Gen 2017 LED Mod on Dashboard Instrument Panel Gauge Cluster
Discussion in '2.5 Gen Tundras (2014-2021)' started by TX_4x4, Sep 12, 2019.